

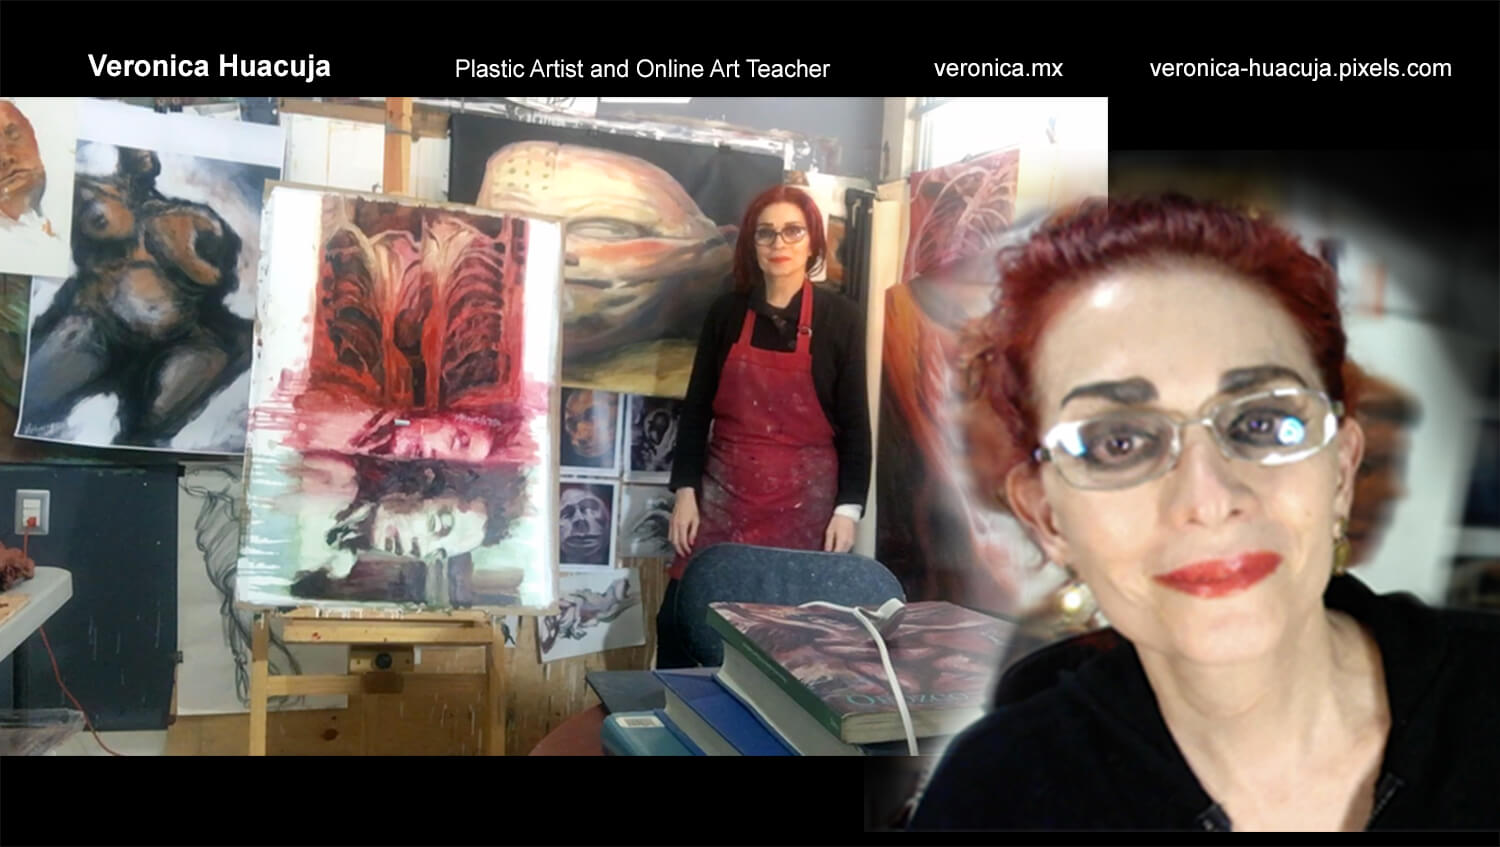
Welcome to another Art Post. My name is Veronica Huacuja. I’m a plastic artist and an online art teacher at an Art Program I've designed. I have some good tips for your painting process. Hope you find them useful.
This is a very true principle. One of the major topics we artists deal with every time we begin a portrait is where should the source(s) of light might be. In other words, where the lights and shadows will take place in our work and the effects on our character (s), atmosphere, palette, etc.
To exemplify this, I add the following work:
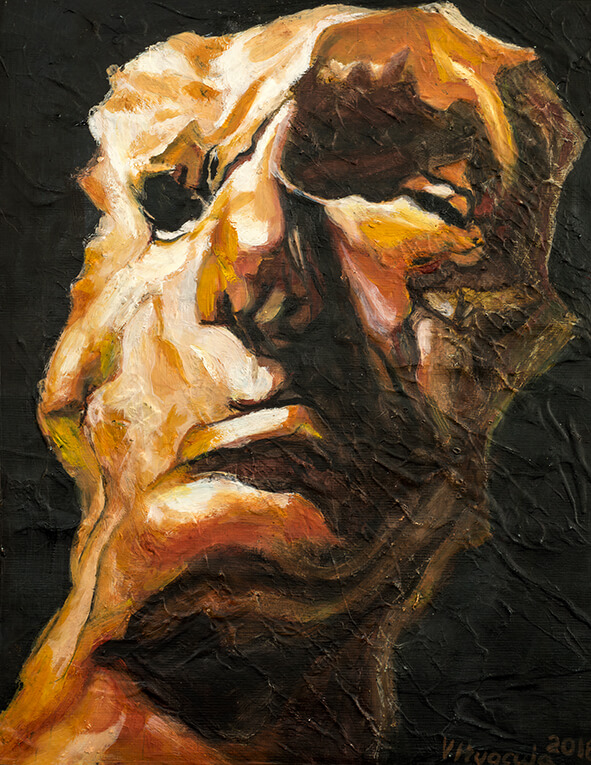
Title: Study Head 29
Artist: Veronica Huacuja
Media: Oil, acrylic on paper
Size: 24 x 32 x 0.1 cm
Year: 2018
Collection: Portraits
Previous thoughts. Let’s learn from the great masters how they deal with this topic. One of these painters is Rembrandt (1606-1669, Dutch Republic). He used a standard lighting technique for some of his portrait’s studios.
Getting to know... That Rembrandt’s lighting is “(…) characterized by an illuminated triangle (also called Rembrandt patch) under the eye of the subject on the less illuminated side of the face. We achieve this by "using one light and a reflector, or two lights. (This way to solve the illumination is) popular because (it can produce images) which appear both natural and interesting with a minimum of equipment." (1) Study the cited elements of this technique in Image 5 of 5.
Material I used to make up the wok.
- A physical model (a relative, neighbour, etc.)
- One or two sources of light
- A reflector (A mid-size white cardboard will make the job just fine.)
- Oil paints
- Gesso
- Medium format white paper: 37.4 W by 26.7 H by 0.1 in. I use and recommend the Italian Fabriano paper, which is very thick (300 g /m2) and has a wonderful performance for oils and acrylics.
My experience while making up this artwork. Some things that we have to decide in our work regarding the light(s) are: its color (white, yellow or other), number of lights (1 or 2), intensity, closeness to the model(s), etc.
In "Study Head 29 ", I used Rembrandt lightning technique, which illuminates one of the model’s cheeks immersed in shadows as we can appreciate in Image 2 of 5 and Image 4 of 5. This technique also projects a subtle light to the face contour (the one in the shadows) and helps differentiate its outline from the background color (Image 2 of 5).
Let's reflect on the above. Taking the time to consider the various lighting options to illuminate our subject while planning a portrait can yield significant results in the end.
If you find this work interesting and helpful, please LIKE it, FOLLOW my Patreon feed, or BECOME MY PATRON. Thank you.
Visit any time:
My BODY OF WORK
My ART SHOP
I offer an ONLINE PAINTING PROGRAM in traditional or digital techniques.
Thank you for reading.
Author: Veronica Huacuja
I'm a figurative and abstract painter. You're welcome to visit: Art Bio: bit.ly/2K7Cz37 Mail: art@veronica.mx If you're interested to acquire an original art please visit: https://veronica-huacuja.pixels.com Hope you enjoy my work! View all posts by Veronica Huacuja